We put together this step-by-step checklist for producing a video with EditMate.
Because here’s the truth: creating a video can seem overwhelming.
Especially when you’re juggling a million other things like comms strategies, brand guidelines, internal approvals, and maybe even figuring out where your laptop charger is.
But here’s what we’ve learned after producing thousands (yes, thousands) of videos:
If you break it down into small, digestible tasks… it’s way easier.
And bonus: there’s nothing more satisfying than checking each one off.
So, whether you’re making an internal culture highlight, a TikTok-ready recruitment video, or a polished case study, this list will help you get it done, fast.
1. Pick Your Video Topic
First things first: what do you actually want to say?
Think about your marketing or internal comms goals. Then, ask yourself what kind of video would help get the job done. A few ideas:
-
A real-life employee story for your careers page?
-
A tutorial to help your new hires onboard faster?
-
A music-driven highlight reel of your ambassadors on social?
-
A morale-boosting video from your retail crew?
Hot tip: Feeling stuck? The EditMate blog’s Marketing & Social Media Category is a goldmine for seasonal video ideas.
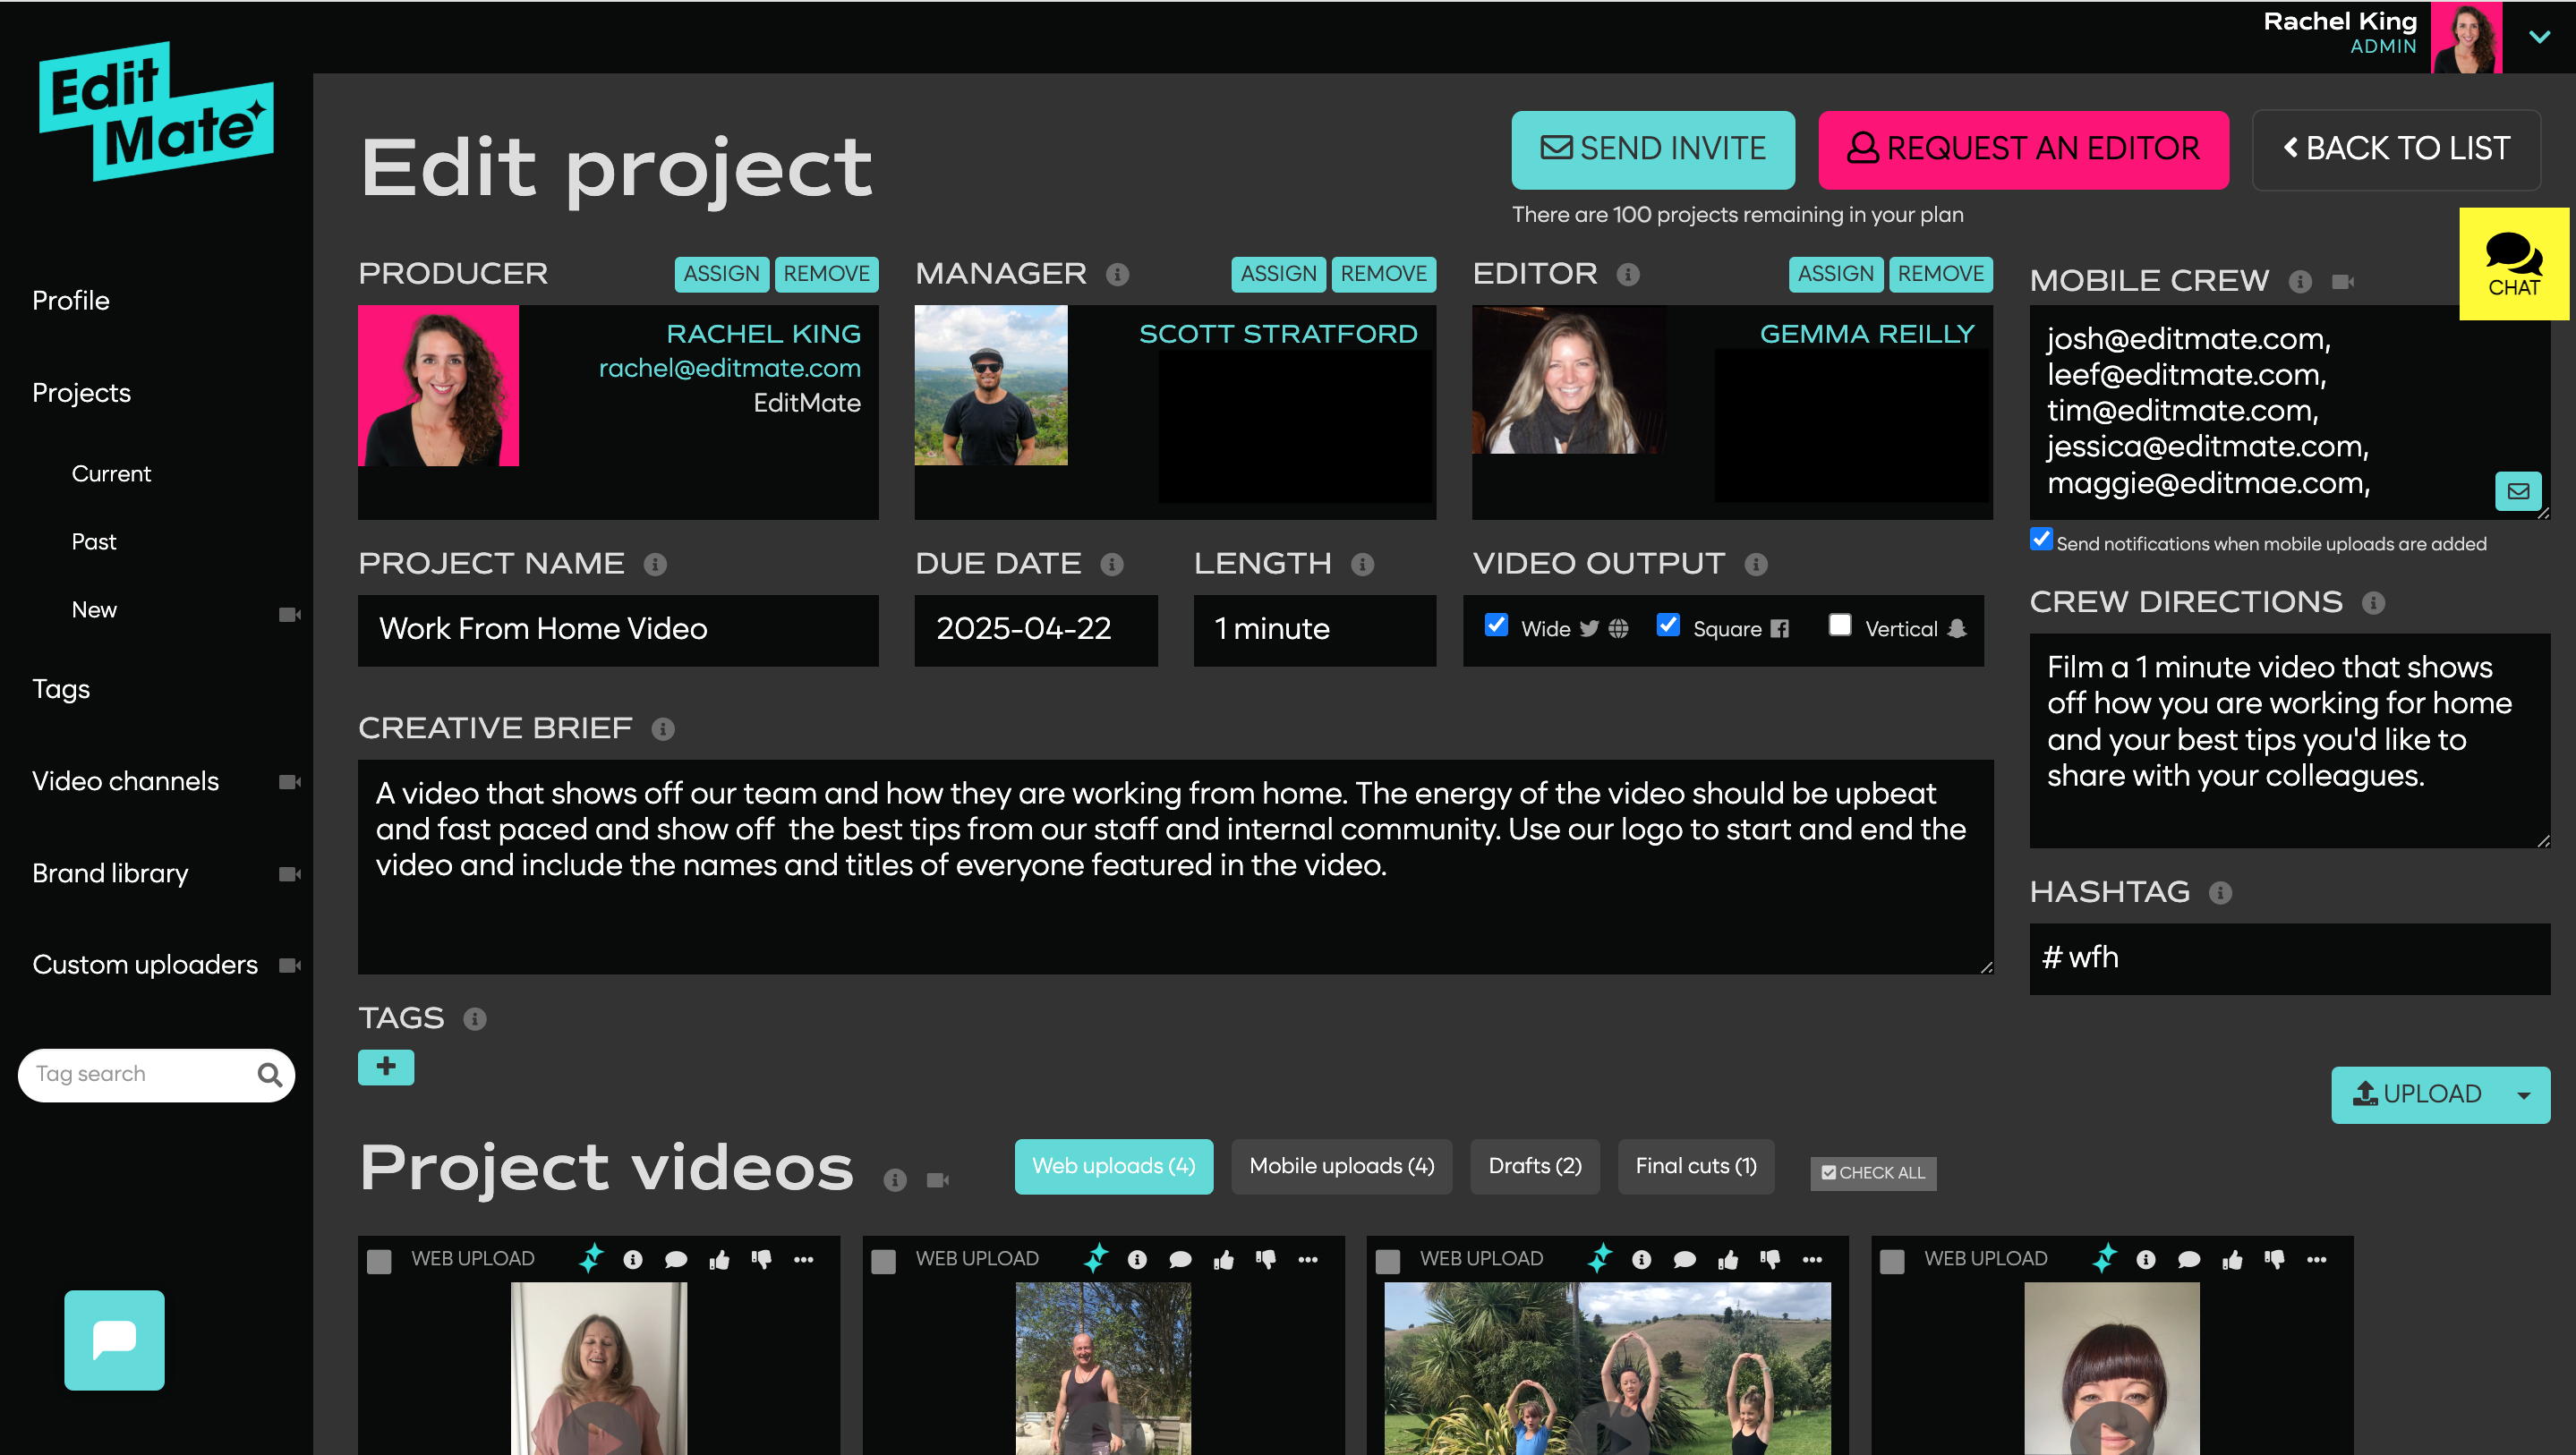
2. Start a New Project in the Dashboard
Once you’re signed in to your EditMate Dashboard, click “New Project.”
Give it a name — something clear, not cryptic like “VideoTopic_3_final_FINAL_revised_v2.”
Now, fill out the Creative Brief. That’s where you’ll tell us what kind of video you’re dreaming of.
Include:
-
Your deadline
-
Desired length
-
Format: rectangle, square, vertical… or all 3 depending where you’ll post it (we love a multi-platform queen 👑)
Got reference videos, brand guidelines, or a weird but awesome GIF you want us to channel? Drop ’em in the Web Uploads bin or share links in the Creative Brief section. That’s your Editor’s treasure chest.
3. Add Your Footage (Or Collect It From Others)
There are two ways to bring your video to life with footage:
Option A: Upload what you’ve already got
Got clips sitting in Dropbox, your camera roll, or your company’s shared drive from 2019?
Perfect.
Upload them directly to the Web Uploads bin, or share links in your Creative Brief. We’ll take it from there.
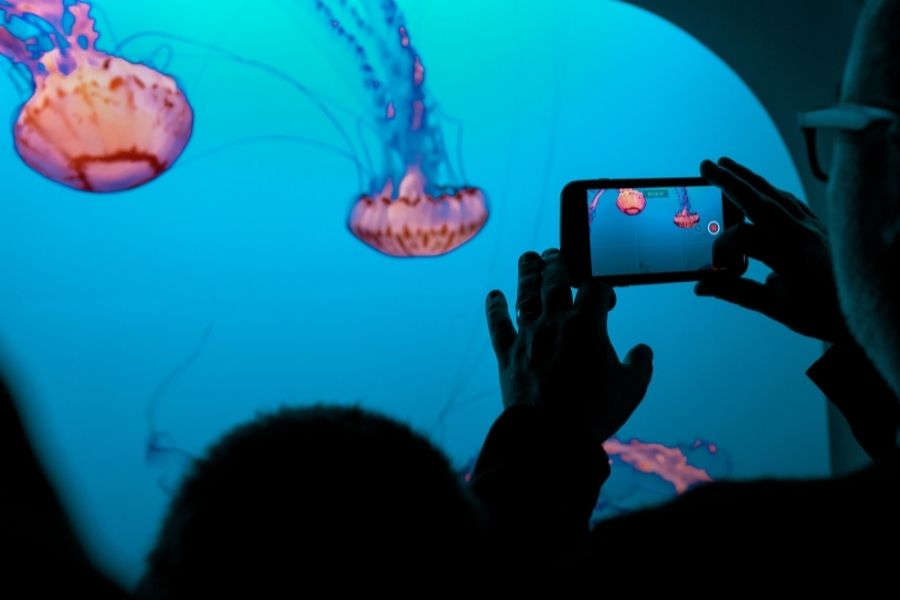
Option B: Crowdsource footage from your people
Want to feature your team, customers, or global employees? Use the EditMate Uploader — our free tool that lets anyone upload video clips to your project.
To get started:
-
Add a #Hashtag to your project
-
Add email addresses to the Mobile Crew box
-
Give filming instructions in the Crew Directions box
-
Click the little blue envelope icon to invite contributors
Or go next-level pro and create a Custom Branded Uploader — so your contributors get a 100% on-brand experience. (We’ve got examples if you want to see what that looks like!)
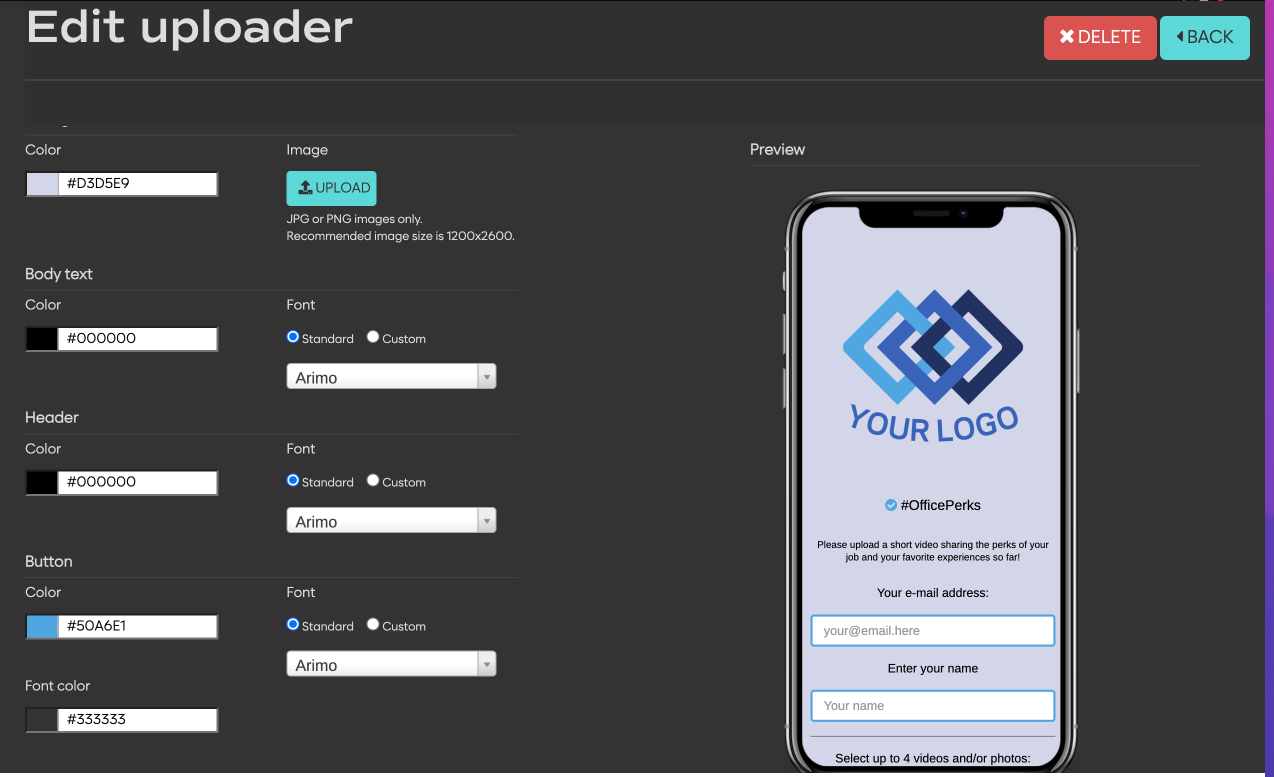 Here’s a sneak peek at what our designer tool looks like! With any EditMate subscription, you can design and share unlimited Uploaders to collect footage from your community in a way that’s 100% on brand, matching your company or specific campaign guidelines.
4. Review the Footage
As clips roll in, you can review, rate, and comment right on each thumbnail.
Leave any notes for your Editor now—your feedback here helps shape the final edit.
5. Request Your Video Editor
Once your Creative Brief is filled out and footage is uploaded, hit the “Request an Editor” button.
Within 24 hours, one of our professional Editors (a real human, not AI!) and a Project Manager will join your project.
They’ll reach out via the Chat Box with any questions and then… editing magic begins.
Hot Tip: Want to talk budget or see our packages? Book a discovery call and we’ll walk you through it.
6. Review the First Draft
When the first draft is ready, your Editor will upload it to the Drafts folder and ping you in the Chat Box.
You’ll also get an email notification, because we know you’ve got enough tabs open already.
Watch it, share it with your team, gather feedback, and pop your notes into the Chat Box.
7. Send Revisions (Up to 3 Rounds!)
We offer up to 3 rounds of edits for each project.
Whether it’s “make the music more upbeat” or “can we get that logo to fade in slower?”— just let us know in the Chat Box and your Editor will tweak away.
8. Approve & Download Your Final Video
Once you give the green light, your Editor will upload the final cut to your Final Cuts folder.
From there, you can:
-
Download it directly
-
Share a view-only link with your team
-
Or add it to your Video Channel — a sleek, customizable playlist that you can easily share with others (can be public or password-protected)
And That’s a Wrap
Now you’ve got a professional, on-brand, made-with-love video – without the stress, guesswork, or 6-month agency timeline.
Ready to start?
Contact us for a free demo + brainstorm session. We’d love to help you create your next great video.